What we do at Sound Again
In this blog, I have a made a photo rebuild to show the work that we carry out.
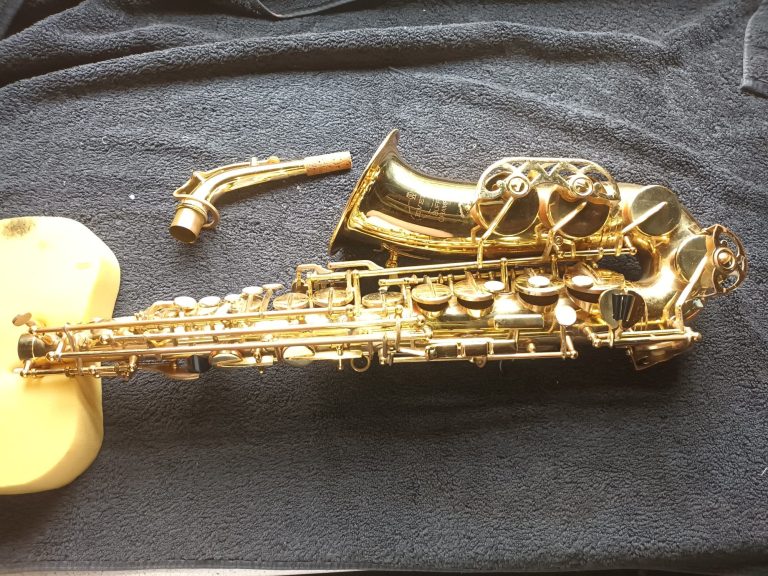
We have a Buffet & Crampon Evette alto saxophone in the workshop. These were popular student instruments, and it can be again with a bit of effort.
It was probably made in the late 1990’s and has stood the test of time well. No dents, a lot of scratches and very dirty but otherwise it looks good.
Assessment
The first step is to make an assessment of the instrument before starting any work.
Some of the issues are visible and would cause major problems when playing.

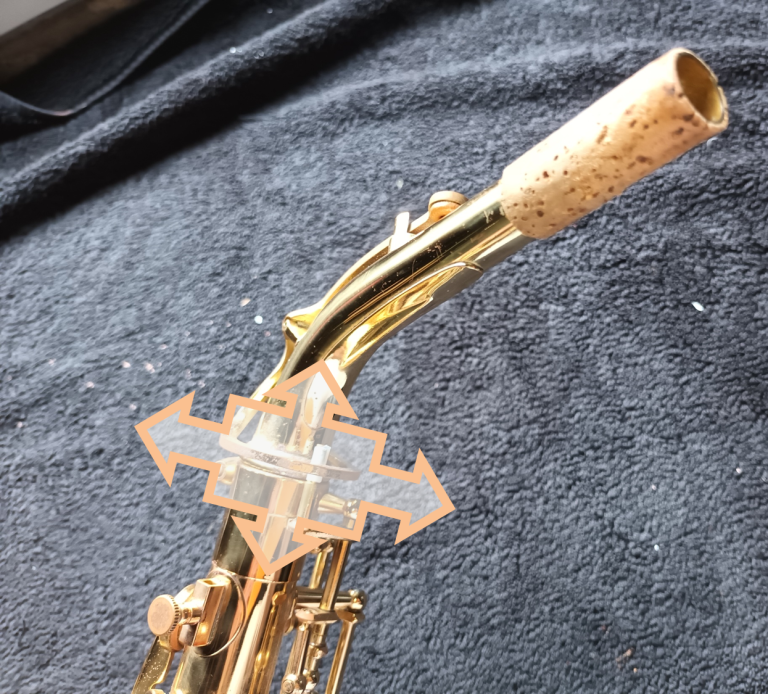
Assessment 1
The neck does not fit properly; it wobbles in all directions even with the screw tightened. This would be leaking air causing a thin, shrill tone and problems playing low notes. This is a very common problem. After around 10 years of use the neck tenon usually needs refitting due to wear.

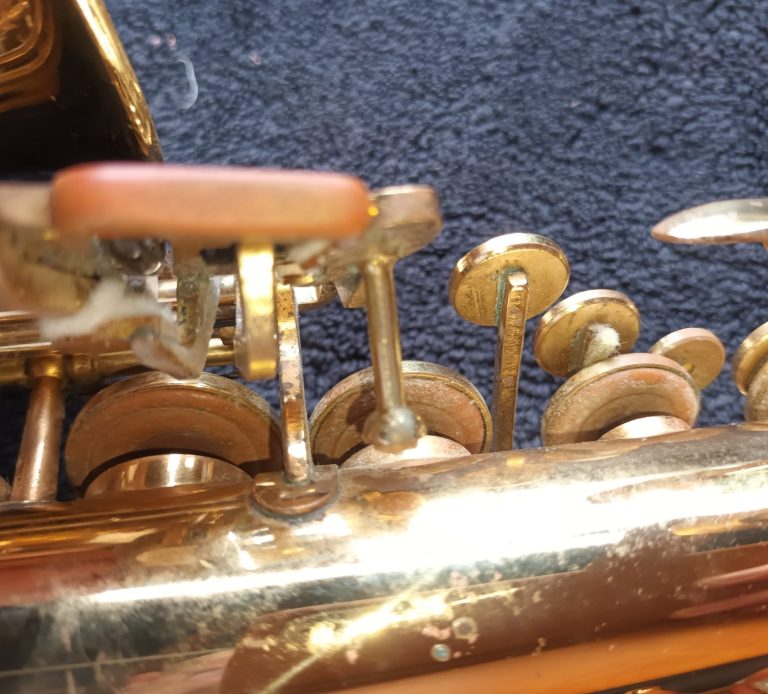
Assessment 2
The octave lever is opening the mechanism too far. This causes the player to put a lot of effort into pressing the key. It should be easy to fix. Maybe a cork has fallen off.

Assessment 3
Wobbly keys. Some of the keys have side-to-side play. Over time, this gets worse and the pads do not sit in the same place each time the keys are pressed. It’s a common problem which can be fixed. As the player presses the key, they may exert a force to the side. Additionally, the pressure of the spring causes the pivot hole in the key to wear into an oval shape. It is fixable.

Assessment 4

Grungy pads. These look mouldy. A sax stored for a long time in a loft, outbuilding or under a bed usually will suffer from mould. If you are not using your sax, sell it. Leaving it standing for long time will ruin the pads!
Start Rebuilding
Step 1
Remove all the keys and give the body a good clean. The worst of any corrosion is also removed. No polishing is done on the body as it gives a false impression of ‘newness’. I prefer instruments to show their age.

Step 2

Remove the damaged pads from the key cups using heat. The adhesive used should melt after heating. The adhesive is either hot-glue or shellac-based. I prefer using shellac glue for pads. It goes on well, holds the pad and is easy to remove later. It’s also natural. The glue is made from the secretions of insects. BTW, shellac is used to French polish furniture and is the shiny coating on some types of sweets!
Step 3
Fix the wobbly neck by expanding the tenon. I use a twin wheel system to expand the tenon. It works great and is very accurate. Much better for the job than plumbers tools. This is such a common problem. Every flute and saxophone which goes through the workshop needs an adjustment using this tool. It brings the instrument back to life.

Step 4

Use a special tool to fix the wobbly keys. This is a manual process involving using a tool to squeeze the hinge tube back into a round shape. It also stretches the tube slightly. Both these actions remove the wobble from the key. You have to be careful though, too much pressure will cause the key to bind. Getting it right takes time and patience.
Step 5
Replace any cork parts which have fallen off. This prevents clanks when the keys are in use. Here I make some round bumpers using a punch. The exact height of the bumpers will be set later when the keys are regulated.

Step 6

Reassemble the instrument.
Step 7
Check the pads for regulation. Here we can see the F key on the lower stack is not closing properly. A leak-lamp shows light under the pad where it is not seated on the tone hole. The cork bumpers will need sanding a little until the F key and F# pad are both closed at the same time. Patience is needed here. I sometimes use a little tape on the key arms to get the closing perfect. It may look a bit ugly but the key regulation is so critical to the instrument.

Finished
Step 8

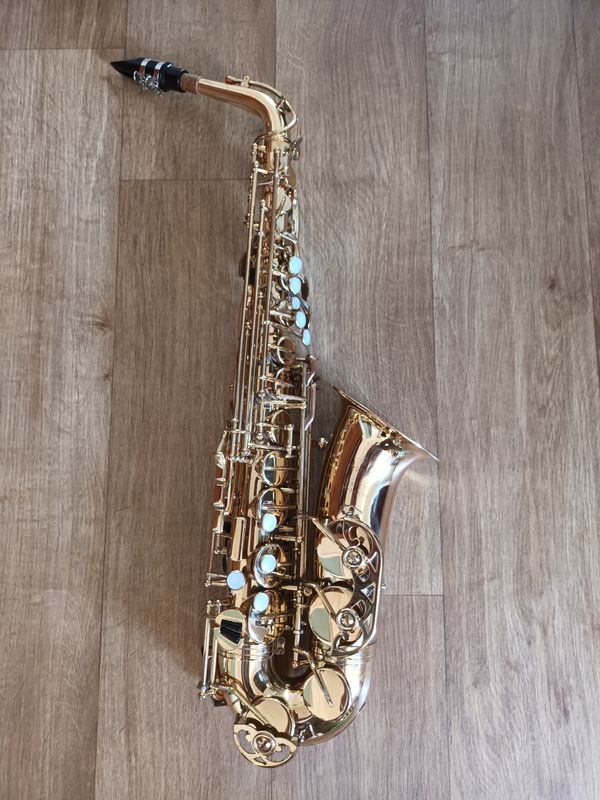
Rebuilt and regulated. Time for a play test and get the saxophone ready for sale. The unloved saxophone is now Sound Again!
Duncan Saunders 12-Sep-24
Discover our refurbished instruments in our shop
Martin Master Handcraft Alto Saxophone | MMAS01
Buffet and Crampon Evette Alto Saxophone | 00003
Buescher Elkhart Tenor Saxophone (1968) | ts02
We need your consent to load the translations
We use a third-party service to translate the website content that may collect data about your activity. Please review the details in the privacy policy and accept the service to view the translations.


